I love to have fun with paper, food, paint, music and events and just being creative in all of it. However, I don't feel the need to be a perfectionist nor a professional in any of my creations. I wish I could have a blog JUST about the art of cooking, photography, sewing, art, mothering, jewelry making, card making, dancing, gardening, deep spiritual thoughts, decorating, poetry, party planning, baking.... and the list goes on but I can't. I don't think I was created with the ability to focus on one task. I like all of these hobbies layed out before me and the freedom to pick whatever I choose depending on the mood or time I have.

Saturday, January 28, 2012

Super Friend Valentine


These Valentines are so easy to make and your boys are going to LOVE them!  Warning: They may want to keep them all.

Print and cut-out these easy printables (below) and insert lollilop and tape on mask. Tie a ribbon at the end if you would like.  Or you can cut out the Superman Logo out and glue on to felt or colored paper.
Kids Crafting V-day Party for more ideas.
Superhero Valentines

Monday, January 16, 2012

Valentine Pillow Gift Boxes


Looking for a creative Valentines day class treat or teacher gift box? Just stuff some candy and a note in it and send them along with your child. Or you can stuff truffles, cookie, mini soaps or chocolate and it makes a cute little teacher gift .   Also, cute Valentines day Party favor.  You can cover these with scrapbook paper for any occasion and use this idea year round.
You will need:
toilet paper roll, scrapbook paper or gift wrap, scissors and glue.


First, you will flatten the roll as shown.
Then you will trace the width of the roll onto your scrapbooking paper.
Then you cut it doubling the length so it can go around the whole roll. Glue it.
Next you will fold in the sides as shown above. 
Don't fold in the sides before covering it with paper.
I did this only for you to see a clear picture of the sides folded in.

Here you have all the fun pillow boxes embellished with ribbon and tags.  You can use this various ways here are two great examples, Love Coupons Activity or Teacher Gift

Tuesday, January 3, 2012

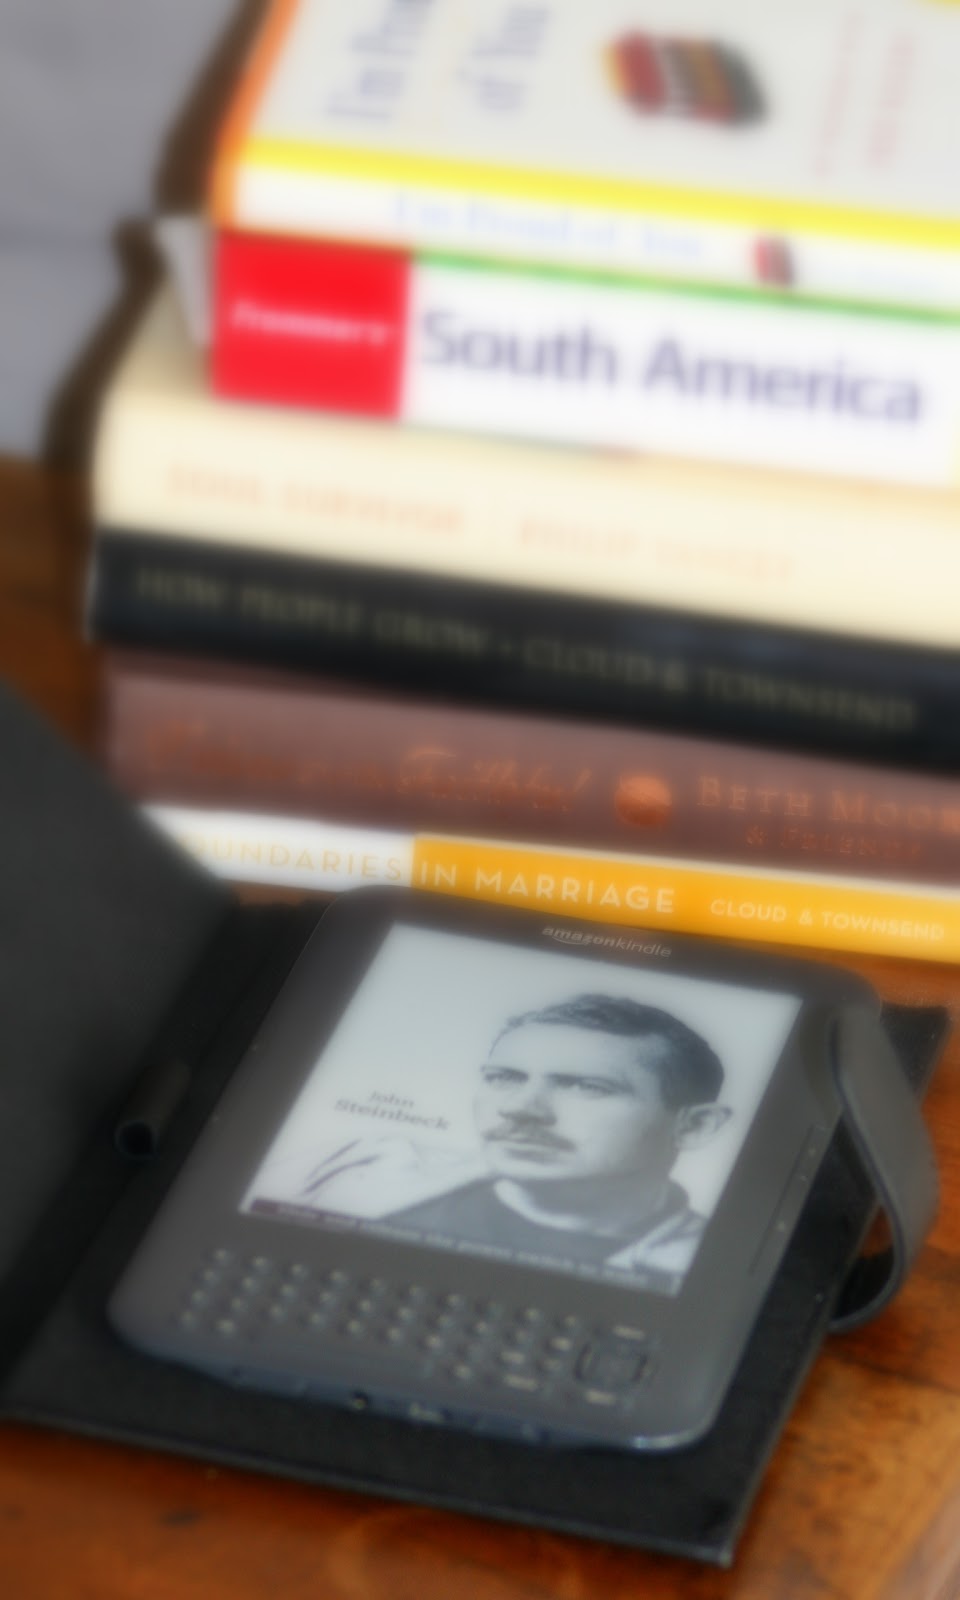
DIY Kindle Case


Did you get a Kindle for Christmas? Or have an Amazon gift card you want to put to use on a Kindle but don't want to spend the extra bucks on a case? This project will only take you 5 minutes to make and you will get lots of mileage on it.


Compare this Kindle case from amazon-
with this one I made for under $10.

I was at the store trying to find some Kindle accessories but quickly realized they were too pricey for my budget. So I decided to go home and make my own and I don't regret it one bit.
My first thought was to cover it with some cute fabric but our Kindle is shared between me and hubby so cutesy fabric wasn't going to work. I reluctantly left it as is. The clean black leather is much more professional if your trying to fake that your working. I am not suggesting this but if you were ever in an emergency and needed to fake working than this is the case you would need not a pink one.  Now onto accesorizing, the only accessory my husband uses regulary and loves me for buying him one is, a Kindle lamp! I purchased ours at Walmart and it cost a whole lot more than this.

Supplies you need: Grab your notepad holder, adhesive velcro, crafting glue and Kindle.
Place soft side of velcro on the backside of the Kindle and the other pc of velcro on the Notepad holder. I used my sturdy crafting glue to secure adhesive on velcro. Your now done with this amazingly practical project that you will get lots of use from. If you want to doll it up, use some cutesy ribbon on the outside.  My husband won't have any of that, so it will stay plain boring black.

If your still looking to purchase a Kindle, click on one of the Kindles above to buy now!
I absolutely love our Kindle! I don't get paid for saying this. We travel a lot and not having to lug around books or have to choose which one to take due to space has been fabulous. There are so many books to choose from and so far all of the books I have downloaded are cheaper than purchasing them in paperback.

Thursday, December 29, 2011

Parasailing, What an Awesome Way to End My Year!

Soaring above sparkling turquoise waters over the beach in Ecuador  was not only breathtaking but to fly over it feeling my hair dance in the wind and smelling the fresh tropical breeze was, exhilarating.  My new prayer "Dear God, please give me wings to fly." 

Saturday, December 17, 2011

Squeeze Bottle Christmas Pancake Wonders

I love using my Squeeze Bottles to make pancake art!


You will need:
  • Squeeze Bottle
  • Pancake Mix
  • Food coloring

1. Mix your pancake mix as directed on box. 
2. Once mixed separate into different bottles but don't fill to the top.
3. Add your food coloring choice to each.
4. Put some butter or cooking spray on your griddle.
5. First, outline your pancakes as seen in picture.
6. Then fill them right away.
7. You can also spell out as show above we spelled Feliz Navidad.

Limitless options  for your pancake art! We made stockings, santa hats, trees, candy canes......

Thursday, December 15, 2011

How to Make Reindeer Antlers with Chocolate


I  am so glad you stopped by, I know your dying to find out how to make reindeer antlers from chocolate. NO more Mickey Mouse ears Reindeer Antlers for you.
Here it is, drumroll please:
You need wax paper, melted chocolate and a ziploc bag.

Last night I was rushing to get through my to do list of Christmas party goodies, classroom goodies, Christmas program sheep costumes etc..... To my surprise I discovered that using pretzels for antlers on my cupcakes wasn't going to fly like it did on my cookies. Mostly due to the shape. On my cookies they look like antlers on my cupcakes they looked like Mickey Mouse the rednose reindeer.

Frustrated and with little time to waste I tried something new that I vaguely remembered reading somewhere.  Desperate I trusted my vague thoughts, on how to trace shapes of things with chocolate onto waxpaper. 

I am here to report it's easy and it worked great. See for yourself Mickey Mouse the Red Nose Reindeer and Rudolph, big difference huh.
Here are the antlers cooling on wax paper.  If your afraid to mess up or want more intricate antlers draw them on first with a sharpie on the back side and then flip it over and trace with the chocolate.  In a small bowl melt chocolate and insert into a ziploc bag. Twist bag and make a small snip at the end to squeeze chocolate out.  They peel right off!

The truth of the matter is the kids could careless if they look like Mickey Mouse or Reindeer so don't fret and enjoy your holidays!

Teacher Gift: Snowman Candleholder


Between my two boys who are in 1st grade and Pre-kinder they have 16 teachers. Yes, that was not a typo, 16.  We love them all so every year it's a challenge to find an affordable to practical gift to give 16 teachers.  I felt a little pressure after writing this article The Truth About Teacher Gifts but I think it passed the sentimental and practical criteria. This year my boys made them this adorable Snowman Candleholder. 


Note they wrote Miss and Mrs. they are still trying to figure that one out.

I wanted a craft that they boys could make that was easy, practical and cute.  You need: a round shape glass or jar, construction paper, tissue paper and modge podge or your homemade version of it.

Cut tissue paper into fat, wide pc and start gluing them on. Let it dry and then add the face with the construction paper. Insert candle and your done, told you it was easy! Our boys had so much fun making their teacher a gift.
Another Snowman craft we made for class gifts:
Snowman Bubbles

Tuesday, December 13, 2011

Sun-dried Tomato & Bacon Cheese Ball


Once again I came up with a recipe using my favorite ingredients: bacon, sun-dried tomatoes and cheese!  From the series Simplifying Christmas Gatherings: Day 2-Appetizer

12 oz. cream cheese, softened
2 cps (8 oz.) shredded cheddar
1/4 cp finely chopped oil-packed sun-dried tomatoes
1 Tbsp. onion flakes
2 tsp. Worcestershire sauce
1/4 cp of shredded mozzarella
chopped walnuts
1 tsp. lemon juice
1/2 tsp. crushed red pepper flakes
1/4 tsp. pepper

1 lb. crumbled bacon, cooked
1. In a bowl mix all of the ingredients above except for the mozzarella cheese and walnuts.
2. Once mixed, form into a ball.
3. Mix mozzarella and chopped walnuts and roll ball in it.
4. Refridgerate for a few hours or overnight.

Monday, December 12, 2011

Pears and Gingerbread Oatmeal Breakfast Bake

Our mornings are crazy, crazy and did I say crazy! I am hoping this last for a couple of breakfast meals this week.
I first had this when a friend brought us a meal after our baby was born. She said you can eat this lots of ways: for breakfast, for dessert, with milk, with out milk or with icecream.  The other night I envisioned this Oatmeal Bake with a Gingerbread flavor and pears. 
So now I am trying my craving out, enjoy!  This is one of our 5 Must Try Christmas Breakfast Recipes from Inspired by Family Magazine.

6 cups oatmeal
4 tsp. baking powder
2 tsp. salt
1.5 cup brown sugar
3 tsp. cinnamon
2 tsp ground ginger
1/2 tsp ground cloves

 
Stir in another bowl:
1/2 cup vegetable oil
2 cups milk
3 eggs
2 teaspoons vanilla
1/4 cup molasses (if your molasses is strong in flavor or if your not a big fan of molasses/gingerbread flavor reduce amount)

 
sliced pears or apples

 
This recipes does not require flour. When baked it will rise like a cake but with a fluffy, crumbly texture.
Directions:
  • Mix together first 7 ingredients.
  • Stir the other 5 ingredients in another bowl then add this mix to your dry ingredients.
  • Place in baking dish and layer on top thin pear slices. You can also dice them up and put them in the dry ingredients.
  • Bake at 350 degrees for 40-45 minutes in a lightly greased pan. Make enough for 6-8 people.
 
If you want it to be sweeter drizzle it with caramel sauce or for dessert add a scoop of vanilla icecream!
To reheat add a little milk or water, cover and microwave for 30 to 60 seconds.


Image via Kyla Roma


Sunday, December 4, 2011

Faux Feather Tabletop Christmas Trees


I know, there are tons of tutorials out there on how to make this trendy tissue paper trees and now I am going to add my 2 cents to the mix.

Using posterboard paper was really ideal or you can buy cone shaped foam.

Supplies:
Glue
tissue paper
Poster board that matches your tissue
styrofoam/plastic cup

1. First cut your poster board paper into a large rectangle and begin shaping it into a cone.  As shown in picture some of it may overlap and the ends may not come out even just cut the ends as needed.

2. Place cone inside cup and glue it in. This will give you a solid base for standing.
3. Cut tissue paper into long strips.
4. Then cut paper into little strips but not cutting all the way through just enough to where each strip hangs together.
5. Begin glueing, because I  used white poster board I had to cover the cone in red tissue paper first so later I wouldn't have to worry about white gaps showing.
For the second type of tree (tree on the right on mantle picture above)I used a different effect.
For this one cut tissue paper into squares.
Fold them up like this.  I don't like the ones that are twisted at the end and the front is fluffy so I folded mine to give it a more leveled look. 

Glue them on starting at the bottom first.  I made the mistake of starting at the top. 

Fresh Flower Christmas Wreath

Last year, in a magazine I saw this vibrant red fresh flower Christmas Wreath, and it was love at first sight.  I finally got around to making one this year. I LOVE IT!  Carnatations are resilient so I think it will last for awhile.

Supplies:
Floral foam
Floral Tape
Bright Red fluffy Carnataions or whatever color you want
Red Wide Ribbon
Skewers

1. I could not find floral foam in shape of a wreath so I created mine buy cutting the blocks of foam and making a rectangle like this.
2. I used wooden skewers to secure it and then taped each side.  I would recommend that you use the green floral tape instead of the masking tape I have here:
2. Once it is secure begin inserting your carnations. Until the top is completely covered.
3. Then go around and place that wide red ribbon around the outside and inside of the rectangle.
4. Secure the ribbon with straight pins.

Yes, it was as simple as that!

Fun Christmas Party Game- Mr. Wright Christmas Book Exchange


This is such a fun game and the older they are the easier it is for it too flow.  Though I have played this game with preschoolers and kindergardeners, with some extra adult help.  We have also played this game on Christmas Eve with the whole family to decide who gets to open the first present on Christmas Eve. With this version we just pass around THE Card that says YOU GET TO OPEN THE FIRST PRESENT. Whoever ends up with this card at the end of the reading is the first picker.

  • You will need the short story The Wright Family Christmas
  • Each child should bring to the party a wrapped book either gently used or new. 
  • Have everyone sit in a circle and instruct them that when they hear you read in the story the words RIGHT or LEFT they need to pass the book in that direction. 
  • Everyone at the end should end up with a book that is not there own. If they do then they can switch with the person next to them.
This is one of the many Kids Christmas Party Games and Ideas from Inspired By Family Magazine.
picture credit: Billy Kids